Display customization
Choose icons, colours, labels and popup content for the stores on your map.
When data first lands on a map, stores are drawn with the system default style. This page shows how to change icons and colours so the map carries your brand.
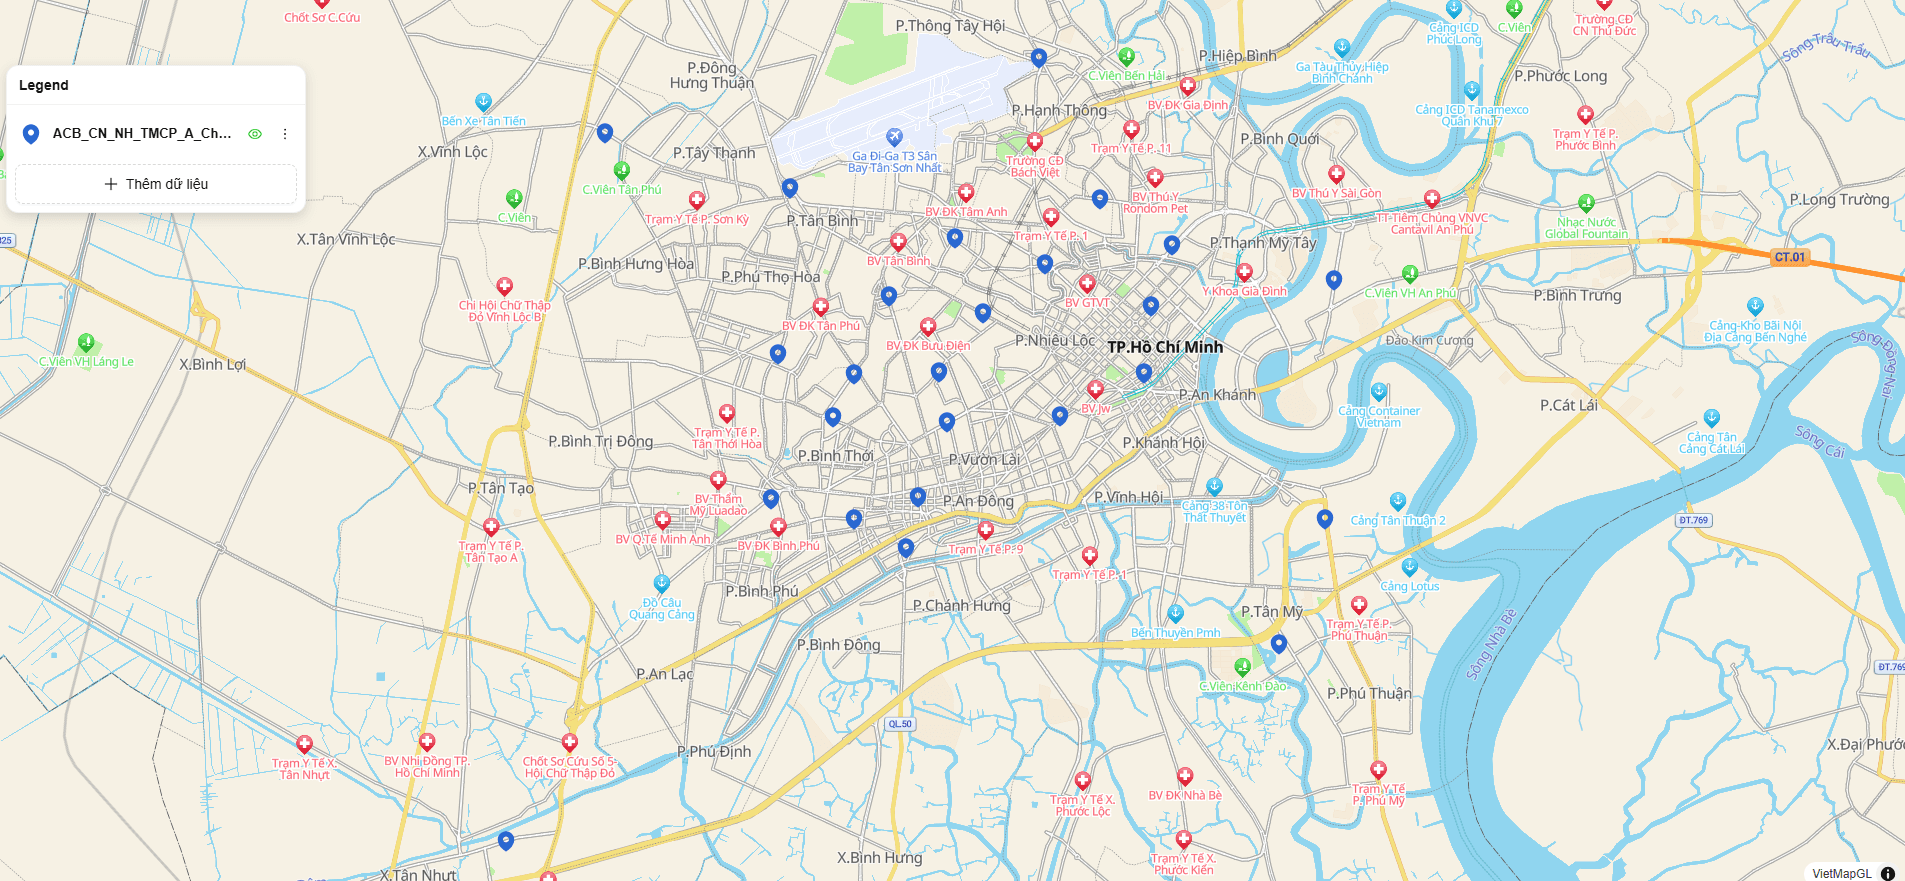
The default style
Right after adding a layer, the data appears with a default symbol and colour:
Opening the styling panel
- In the Legend, click the layer you want to adjust.
- The layer's detail panel opens on the right — this is where you set the icon, colours and style.
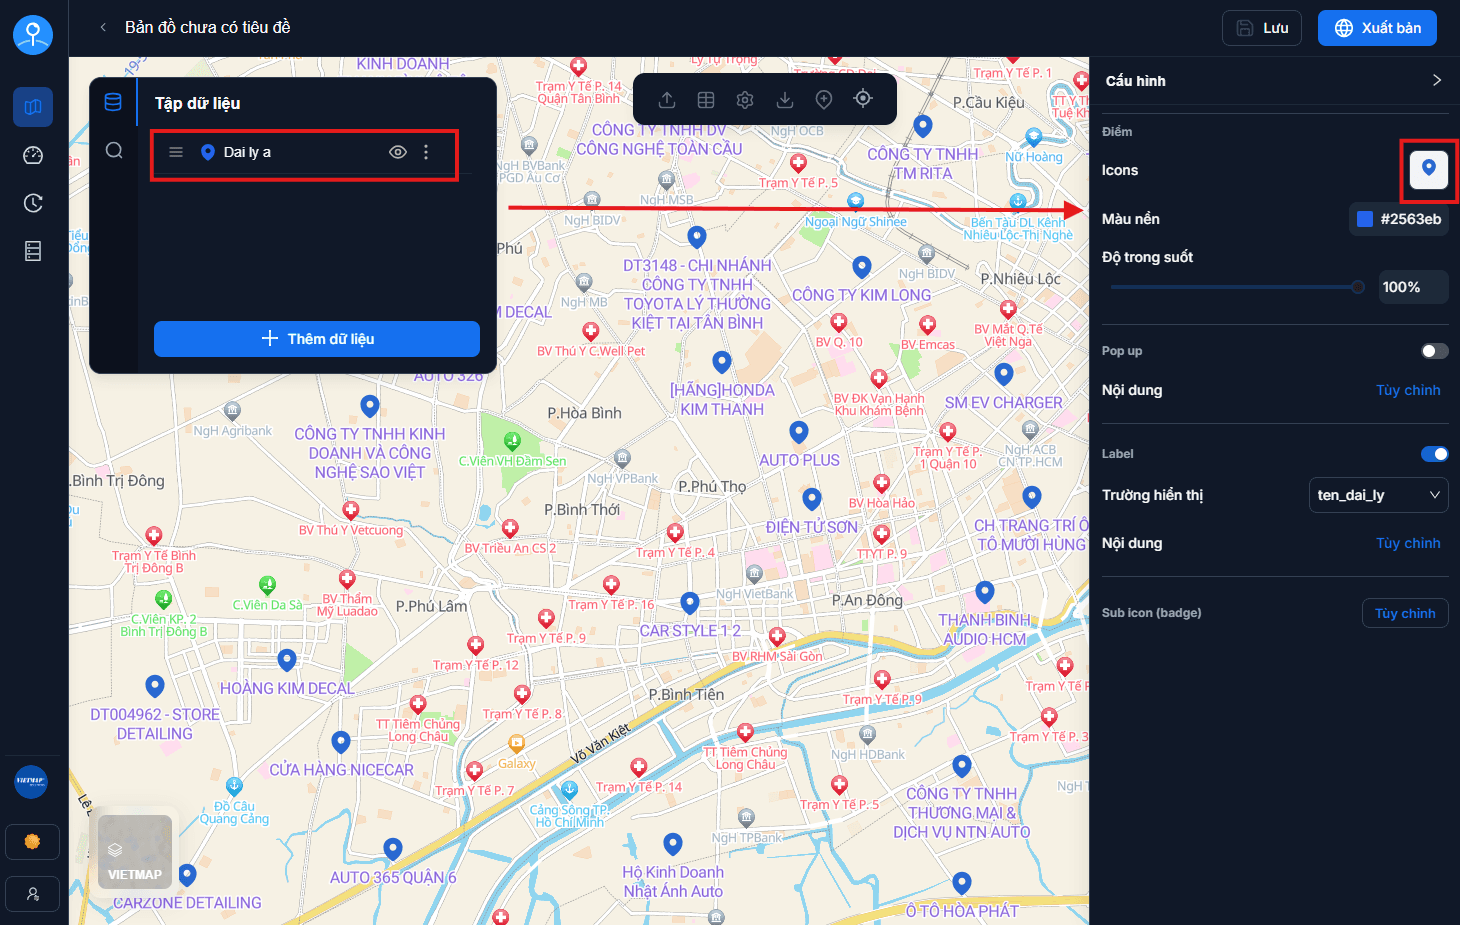
Choosing an icon
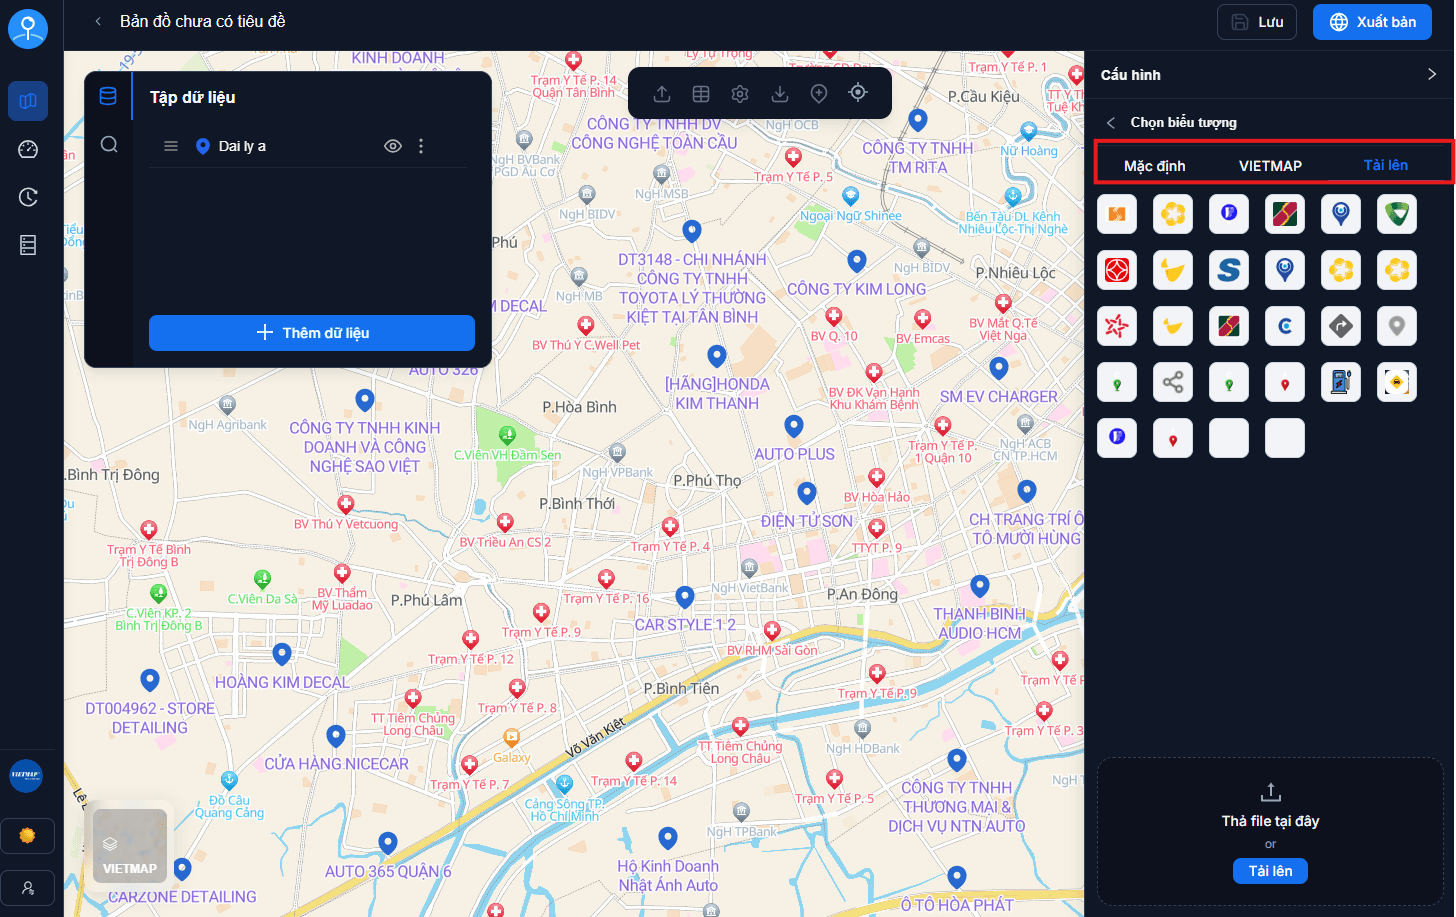
Click the icon in the detail panel and a list of symbols appears. It has two groups:
- The system's built-in SVG icon set.
- Icons you upload — for showing your own brand logo or marker.
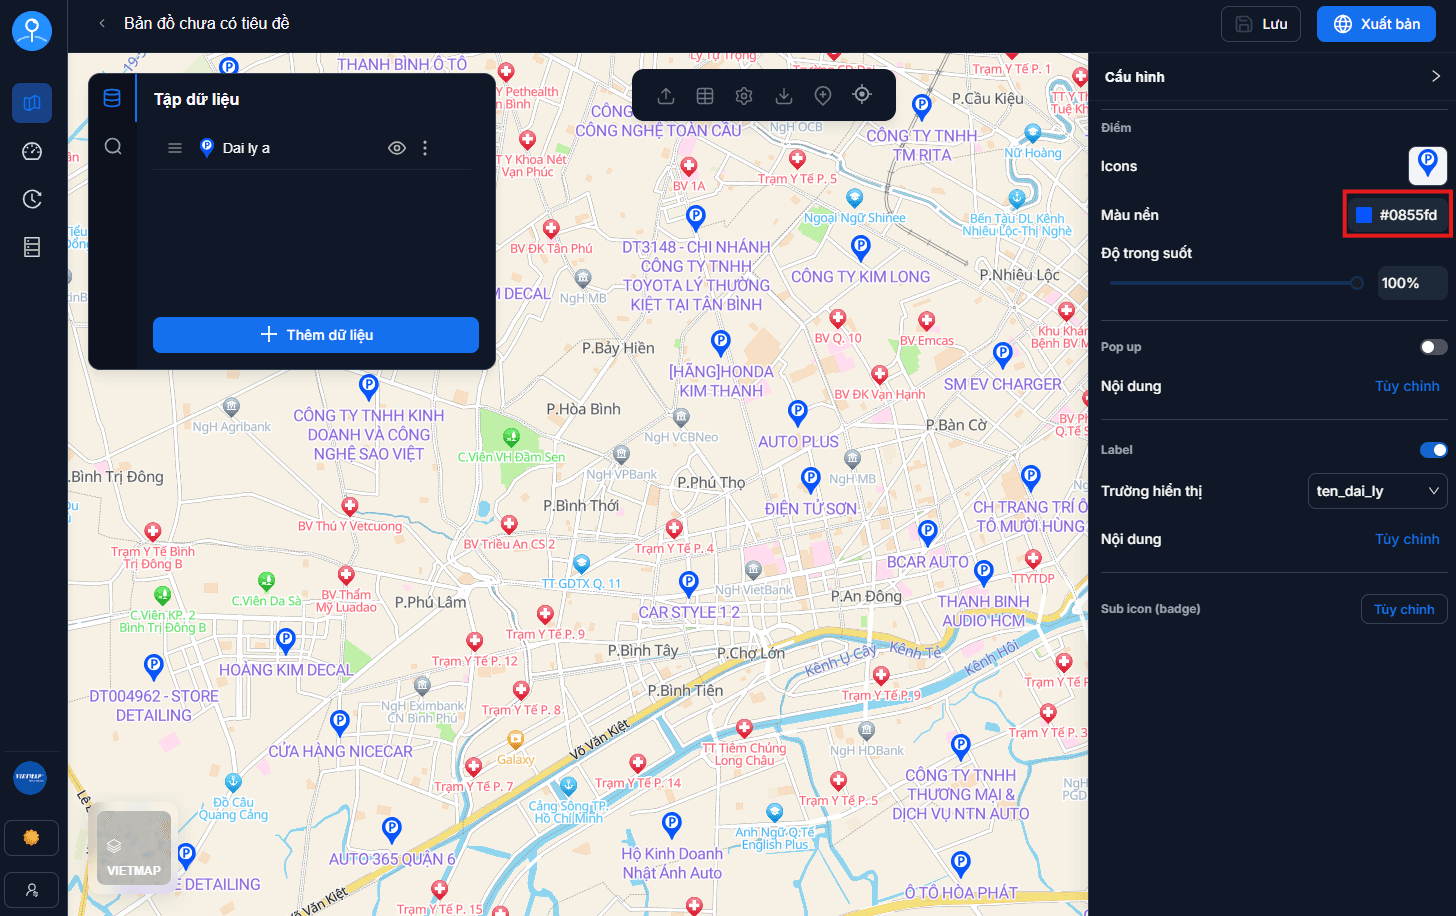
Changing the icon colour
For the system SVG icons you can pick any colour to match your brand.
Uploaded icons cannot be recoloured
Icons you upload are PNG/JPG images, so their colour cannot be changed — it is baked into the file. If you need several colours, prepare several image files, or use the system SVG icons.
Changing the icon by a column's value
If your store groups live in one layer and are distinguished by a category column, you do not need to split the layer. Open the layer's three-dot menu in the legend → Conditional style (point layers only), then define the rules: which value gets which icon.
Values must match exactly
Rules match on the exact string. "Dealer" and "dealer" are two different values, and so is one with a trailing space — any store that matches no rule keeps the default icon.
This is exactly why a category column is better as a Domain field: entry is from a list, so nothing can be mistyped. See Domain management.
Or split into several layers
The other approach is to separate "Stores" and "Dealers" into two data layers and style each one differently. That works better when you also want to show/hide each group independently. See Managing data layers.
Remember to save and publish again
After adjusting the style, click Save. If the map is already public, you also need to publish again before customers see the new look.
Next: Legend — help viewers understand what the symbols mean.