Managing data
Add, edit, delete and filter store data after uploading.
The Datasets section is your organization's source-data library. Here you add, rename and delete datasets — each one a table holding a store list and their information.
Open it from the left navigation bar → Data management → Datasets.
Screen layout
The screen has two columns that always work together:
| Column | Contents |
|---|---|
| Left — Data list | Your organization's datasets, with a count (N files). Click to select |
| Right — Fields | The columns of the selected dataset, with a count (N fields) |
Select a dataset on the left and the right column follows. Editing columns happens in the right column — see Managing structure.
Adding a dataset
The Upload button at the top of the left column works two ways:
- Click the button itself — upload a data file and create a dataset from it. Supports CSV, Shapefile, GeoJSON and more. See Uploading files.
- Click the arrow next to it → choose Create empty file — build an empty dataset and declare the columns yourself, for when you have no file at hand.
Renaming a dataset
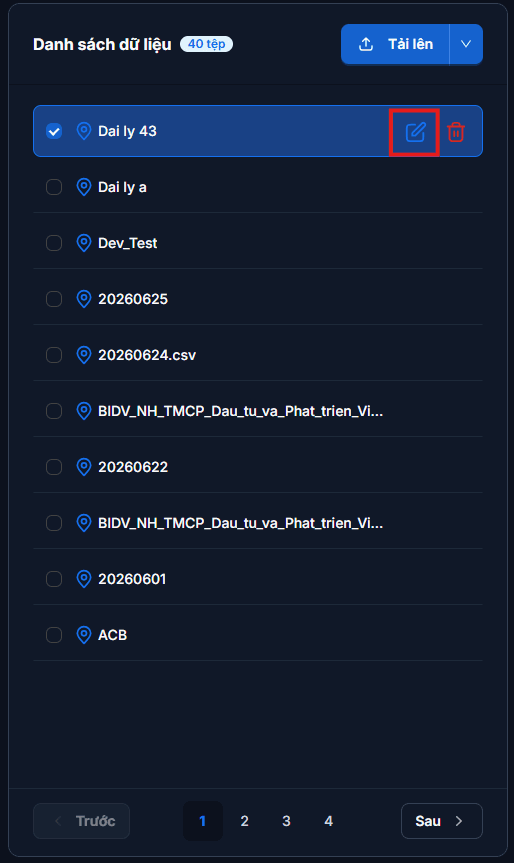
Each row in the list has two icons at the end. Click the pencil to rename it, then save.
Give it a recognisable name
A dataset's name becomes the layer name shown in the map's Legend. A clear name ("Southern stores", "Authorised dealers") helps both you and your customers far more than an original filename like data_final_v2.
Deleting a dataset
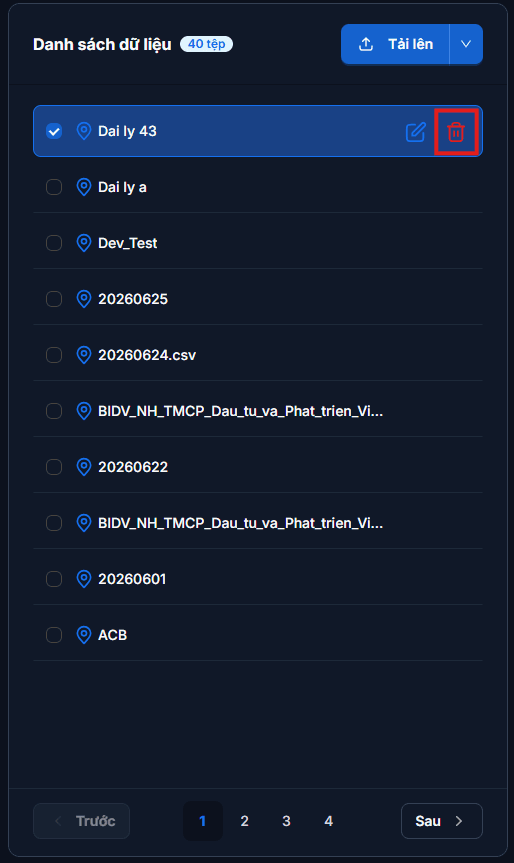
Click the trash icon at the end of the row. The system asks for confirmation and shows the dataset name.
Deleting a dataset affects every map
A deleted dataset disappears from every map using it, including published maps. This cannot be undone — check carefully before confirming.
Editing the data inside a dataset
| You want to | See |
|---|---|
| Add, edit or delete individual stores | Managing stores |
| See all records as a table and search them | Data table |
| Change column labels, add/remove/reorder fields | Managing structure |
| Move a store's position on the map | Managing stores |
Next: Data table — view and look up your data as a table.